
What you need to know now about aging in place home design:
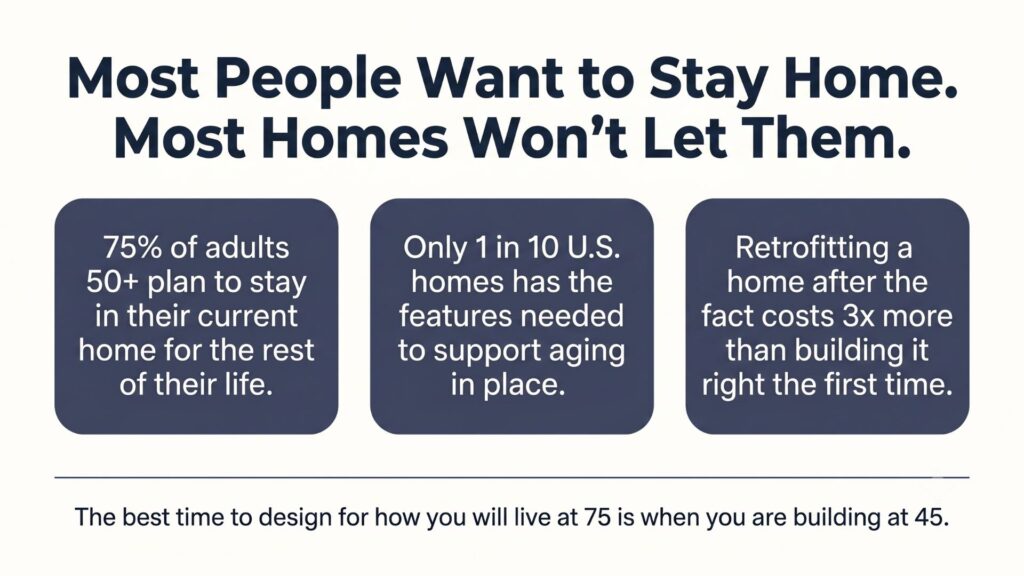
- Aging in place means designing your home from the start to support independent living as your needs change, not retrofitting it years later when changes cost two to three times more.
- 75% of adults aged 50 and older want to remain in their current homes as they age. Most of their homes were not designed to help them do that.
- The features that make a home safe and functional at 75 are largely the same features that make it more comfortable and usable at 40. Good aging in place design is just good design.
- A custom home is the single best opportunity to build these features in at full structural depth, at a fraction of what retrofit modifications cost later.
Every idea below is something we can build into a Maryland custom home from the ground up. Here is what to consider.
What Is Aging in Place Home Design and Why Does It Matter?
Aging in place home design means building or modifying a home so the occupants can live there safely and comfortably as they grow older, without needing to relocate to assisted living. It combines universal design principles with practical safety features across every room.
The numbers make the case plainly.
More than one in four adults over 65 falls each year, according to the CDC’s older adult fall prevention data. Falls are the leading cause of injury death in that age group. Most of those falls happen at home, in bathrooms, on stairs, and in hallways.
A home designed for aging in place removes those risks structurally. No grab bar screwed into drywall after the fact. No threshold removed with a grinder at age 72. The right clearances, surfaces, and structural supports are in the walls from day one.
In Maryland, where the median age in Montgomery County is climbing and the custom home buyer demographic skews heavily toward the 45-to-65 range, this is not a fringe request. It is a reasonable forward-looking investment most buyers do not think to ask for until it is too late to do it right.
15 Aging in Place Home Design Ideas for Your Maryland Custom Home
1. Zero-Step Entry
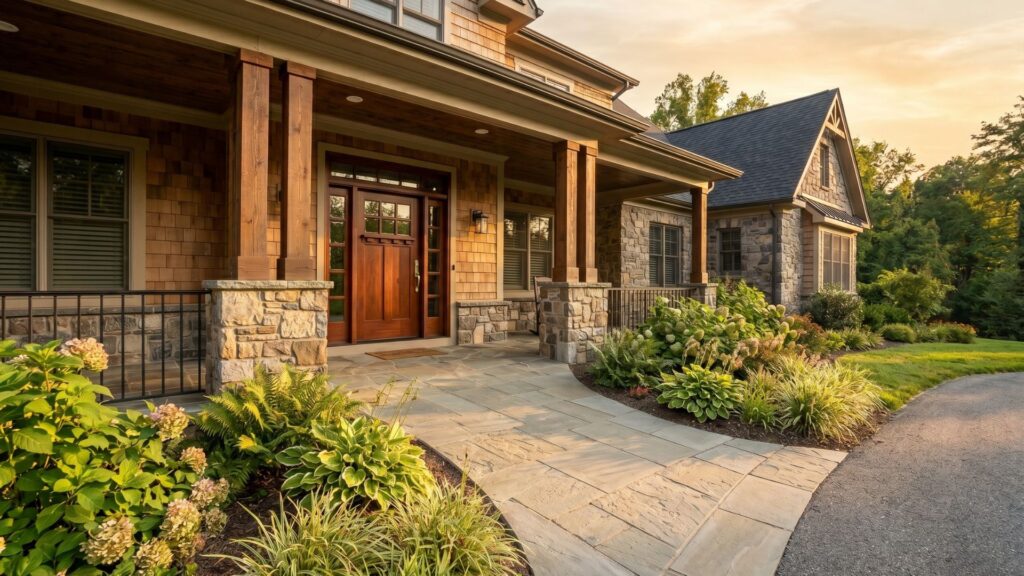
A zero-step entry eliminates any rise at the front door threshold. No steps, no raised sill, no transition lip. The path from driveway to front door is level or gently sloped.
Why It Matters
Steps at the entry are the first barrier for anyone using a cane, walker, or wheelchair. They are also a fall risk in wet Maryland winters. A zero-step entry costs nothing extra when designed into the grade at the start. Adding one later requires regrading, new concrete work, and potential masonry modifications.
How to Build It In
- Work with a civil engineer at the site plan stage to set finished floor elevation relative to driveway grade
- Slope the approach walkway at 1:20 or gentler (ADA residential recommendation)
- Use a weather-stripped, low-profile threshold at the door itself
- Covered entry is standard practice: keeps the threshold dry and safe year-round
2. Wider Doorways Throughout
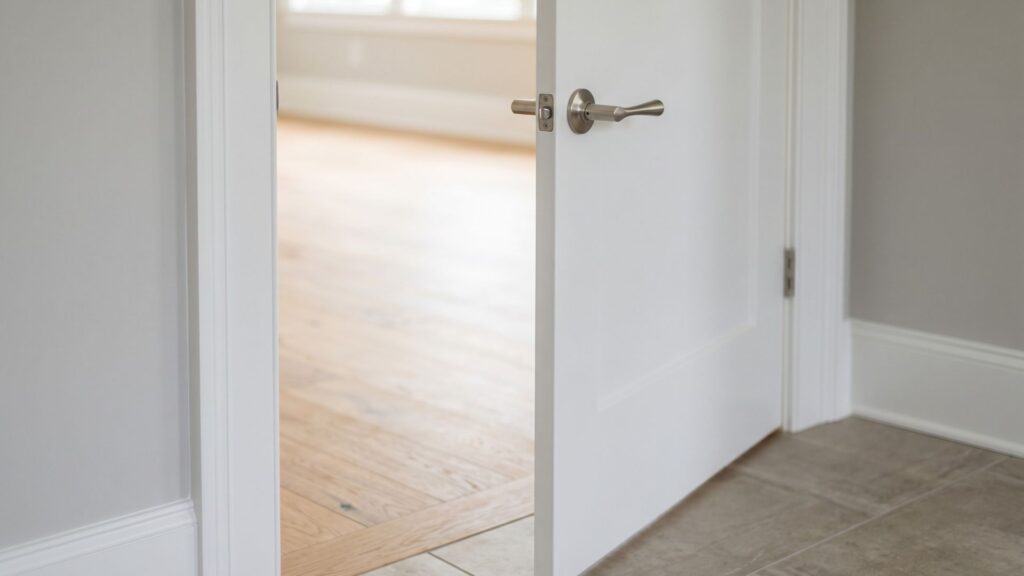
Standard residential doorways run 32 inches clear. An accessible doorway runs 36 inches clear. The difference is 4 inches. The structural cost difference on a new build is minimal.
Why It Matters
A standard walker requires 32 inches minimum. A wheelchair requires 36 inches. Anyone who has ever tried to move furniture through a 32-inch door also knows the practical everyday benefits.
How to Build It In
- Specify 36-inch clear width on all first-floor doorways at the framing stage
- Apply the same spec to all bathroom doors, bedroom doors, and the laundry room
- Pocket doors and barn doors eliminate the turning radius problem entirely in tight spaces
- Lever handles replace round knobs at every door: easier for arthritic hands, easier when carrying groceries
3. Single-Floor Living Design
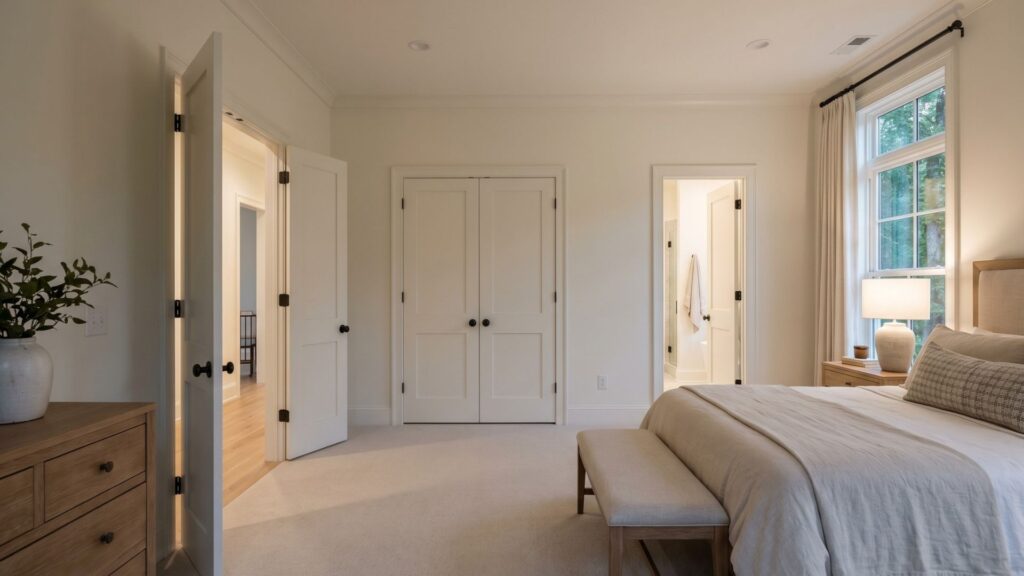
A floor plan where all primary living functions (bedroom, full bathroom, kitchen, laundry) are accessible on one floor without using the stairs.
Why It Matters
Stairs are the single highest-risk feature in a two-story home for older adults. A design that works on one floor preserves full function even when stairs become difficult or impossible to use.
How to Build It In
- Place the primary suite on the main floor, not the second floor
- Include a full bathroom adjacent to the primary suite with no shared corridor
- Locate laundry on the main floor, not in the basement
- If building two stories, rough in the elevator shaft at construction: costs roughly $3,000 to $5,000 to build the shaft empty versus $20,000 to $30,000 to add it after the fact
4. Curbless Walk-In Shower
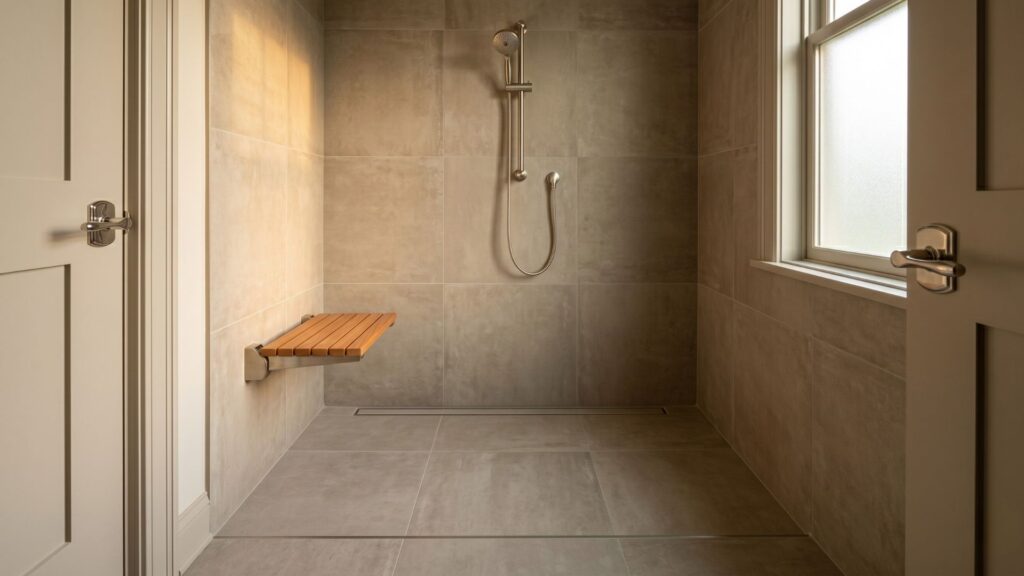
A shower with no curb or threshold. The shower floor is flush with or nearly flush with the bathroom floor, with the slope built into the tile to direct water to the drain.
Why It Matters
Shower curbs are one of the most common fall locations in a home. Stepping over a 4-inch curb on a wet foot is a genuine hazard. A curbless shower eliminates that transition completely.
How to Build It In
- Frame the shower floor down by 1.5 to 2 inches at the rough framing stage to allow for the sloped mud bed
- Specify a linear drain along one wall for maximum slope control and clean aesthetics
- Size the shower at minimum 36 by 36 inches; 36 by 60 inches allows for a fold-down seat and a caregiver to assist
- Install blocking in all walls at the time of framing for future grab bar installation: no stud-hunting later
5. Built-In Grab Bar Blocking
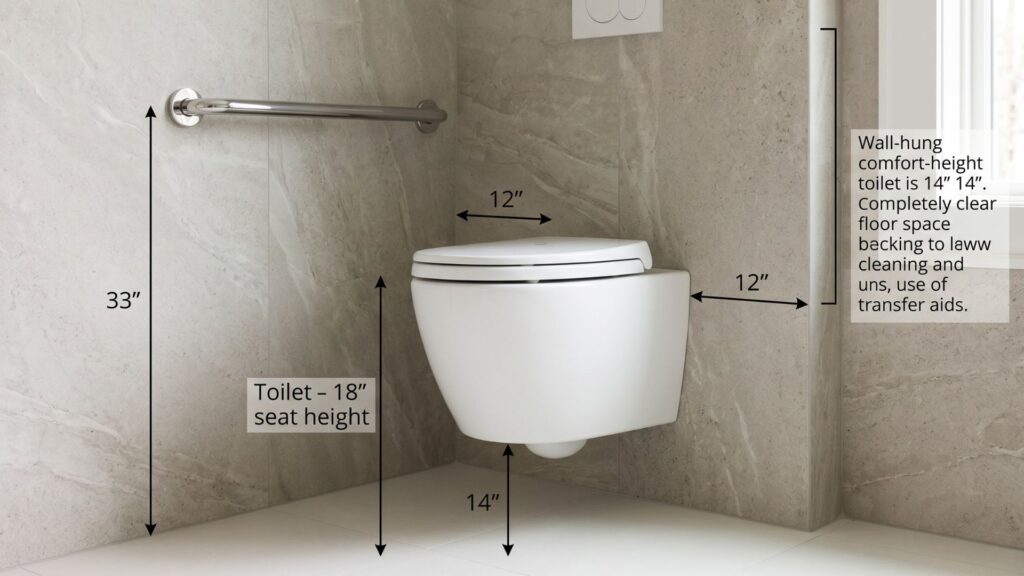
Structural blocking is solid wood or steel plate installed between studs inside the wall during framing. It is invisible from the finished room but allows a grab bar to be mounted anywhere on that wall at any point in the future with full load-bearing support.
Why It Matters
Grab bars installed into drywall alone will pull out under load. Blocking costs almost nothing to add during framing. A retrofit grab bar installation without blocking requires opening walls, which costs $500 to $1,500 per location.
How to Build It In
- Block all bathroom walls at 33 to 36 inches from the floor as standard practice
- Block the full shower surround: all four walls, floor to ceiling
- Block both sides of all toilets at the standard ADA side transfer zone
- Document blocking locations in the homeowner manual so the right spots are known later
6. Non-Slip Flooring Selections
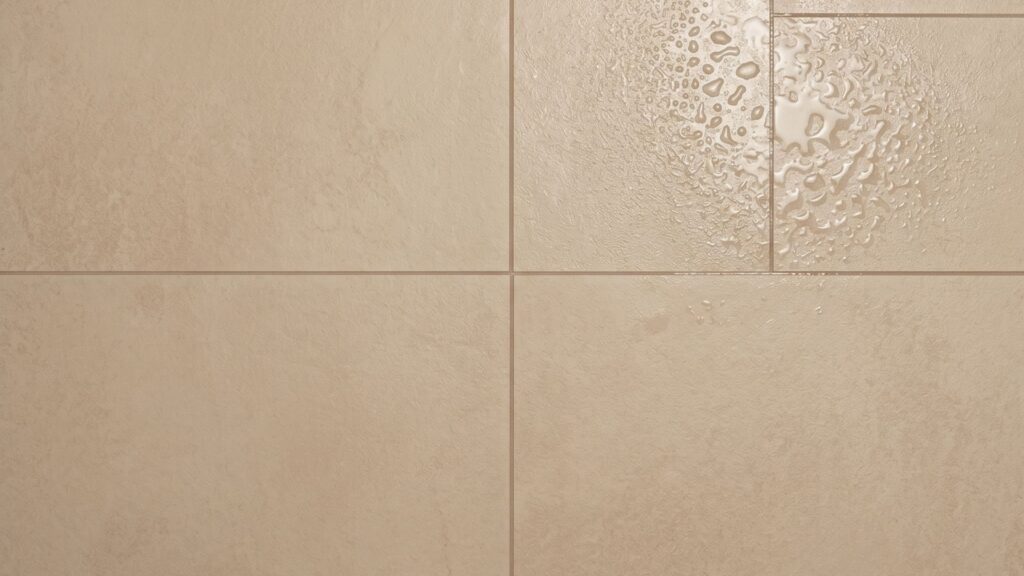
Flooring chosen specifically for slip resistance, texture depth, and wet-surface coefficient of friction, rather than appearance alone.
Why It Matters
Polished porcelain, high-gloss hardwood, and large-format marble look stunning in design magazines. They are dangerous when wet. Every bathroom floor, kitchen floor, and entry in a properly designed aging in place home uses flooring selected for both aesthetics and grip.
How to Build It In
- Specify tile with a dynamic coefficient of friction (DCOF) rating of 0.42 or higher for all wet areas
- Matte and textured finishes perform better than polished in wet conditions
- In bathrooms, 4-inch by 4-inch mosaic tile provides more grout lines per square foot, which increases grip
- Outside the wet zone, prefinished hardwood with a matte finish performs well and avoids the reflection glare that impairs vision in older adults
7. Comfort-Height Toilets
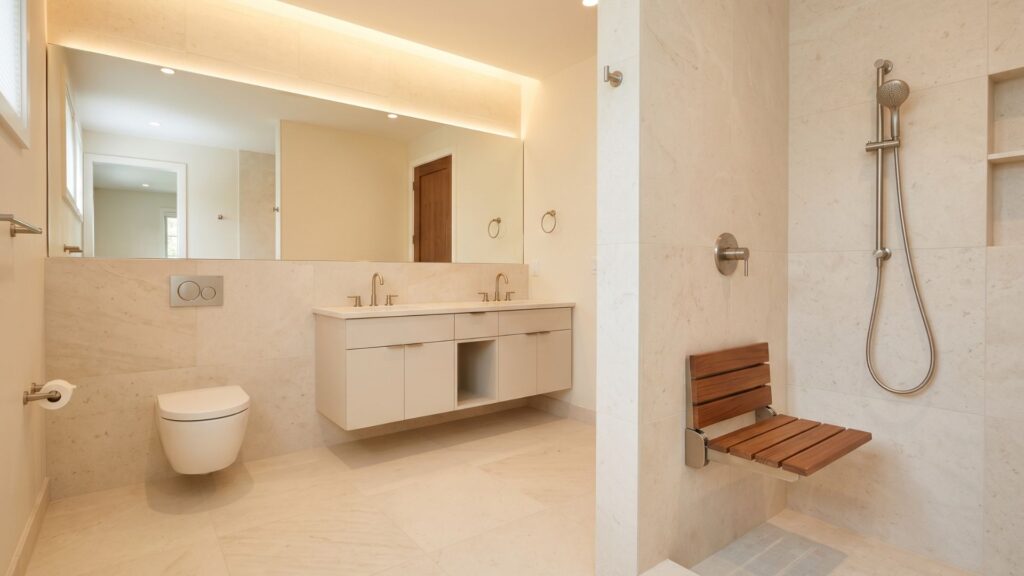
A toilet with a seat height of 17 to 19 inches from the floor, compared to a standard toilet at 15 inches. Often called chair-height or ADA-height toilets.
Why It Matters
Lowering to and rising from a 15-inch seat is a significant physical task for anyone with reduced hip or knee strength. A 17- to 19-inch seat height reduces joint stress, reduces fall risk during the transfer, and is more comfortable for taller users regardless of age.
How to Build It In
- Specify comfort-height toilets in all bathrooms as a standard, not an upgrade
- Pair with blocking on both side walls for future grab bar installation
- Allow clear floor space of 60 inches by 56 inches minimum for a full side approach
- Wall-hung toilets allow the seat height to be set precisely and make floor cleaning easier
8. Accessible Kitchen Design
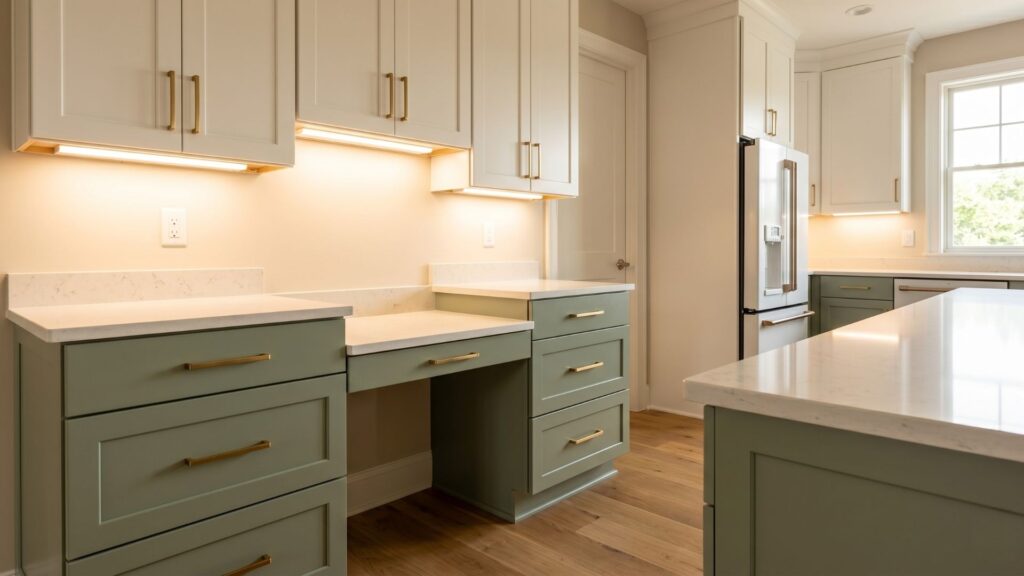
A kitchen layout that allows use from a seated position, with work surfaces at varied heights, clear floor space under key work zones, and hardware that does not require tight grip or twisting.
Why It Matters
Standard kitchens are designed for a person standing at 36 inches. An accessible kitchen works at both standing and seated heights. This matters not just for wheelchair users but for anyone who has had surgery, a temporary injury, or fatigue-related limitations.
How to Build It In
- Include a section of countertop at 32 to 34 inches height with open knee space below
- Specify pull-out drawers in base cabinets rather than fixed shelves: easier to access without bending
- D-pull or bar-pull hardware on all cabinets and drawers: no knobs requiring pinch grip
- Specify a side-by-side refrigerator or French door refrigerator: all items accessible without bending deep
- Under-cabinet lighting at the countertop: reduces shadow on work surfaces, which matters more as vision changes
9. Smart Home Lighting and Controls
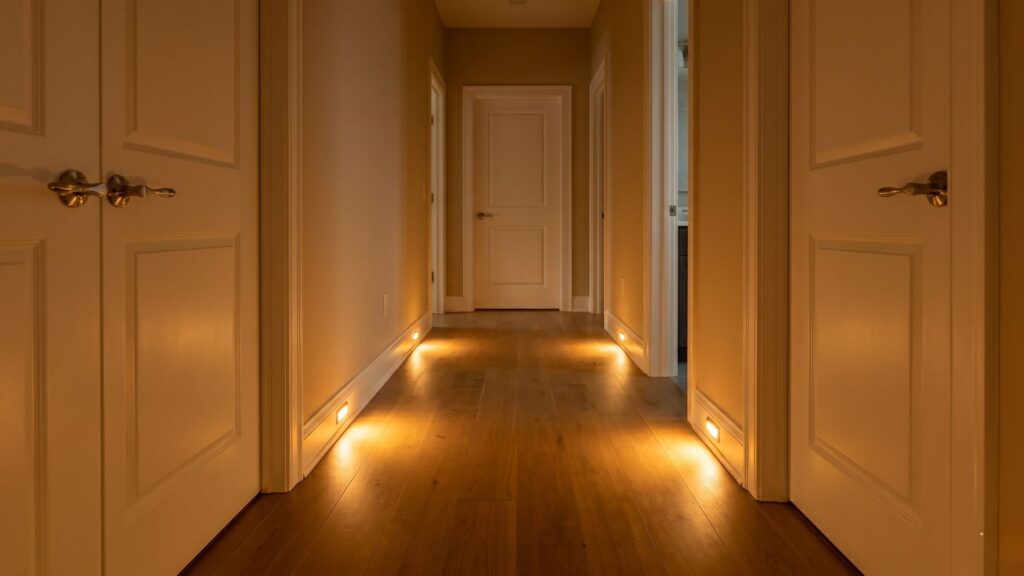
Lighting systems with motion-activated switches, programmable pathways, and voice or app control as alternatives to wall switches.
Why It Matters
Nighttime navigation in a dark house is a fall risk. Fumbling for a light switch at a strange height with limited hand dexterity is a daily inconvenience that compounds over time. Smart lighting solves both.
How to Build It In
- Install motion-activated lighting in all hallways, bathrooms, and stairwells
- Specify pathway lighting at baseboard level for nighttime navigation: no overhead glare, no switch required
- Pre-wire all rooms for smart switch compatibility during rough electrical: costs nothing extra to run the appropriate wire at that stage
- We specify Deako smart switches in our builds: plug-and-play modular switches with large touch-sensitive controls, motion-sensing occupancy modes, and app or voice control. Deako runs on Bluetooth Mesh, so coverage strengthens as more switches are added throughout the home
- Deako’s occupancy mode turns lights on automatically when someone enters a room and off after no motion is detected, no switch interaction needed at any point
10. Elevator-Ready Shaft or Stairlift Prep
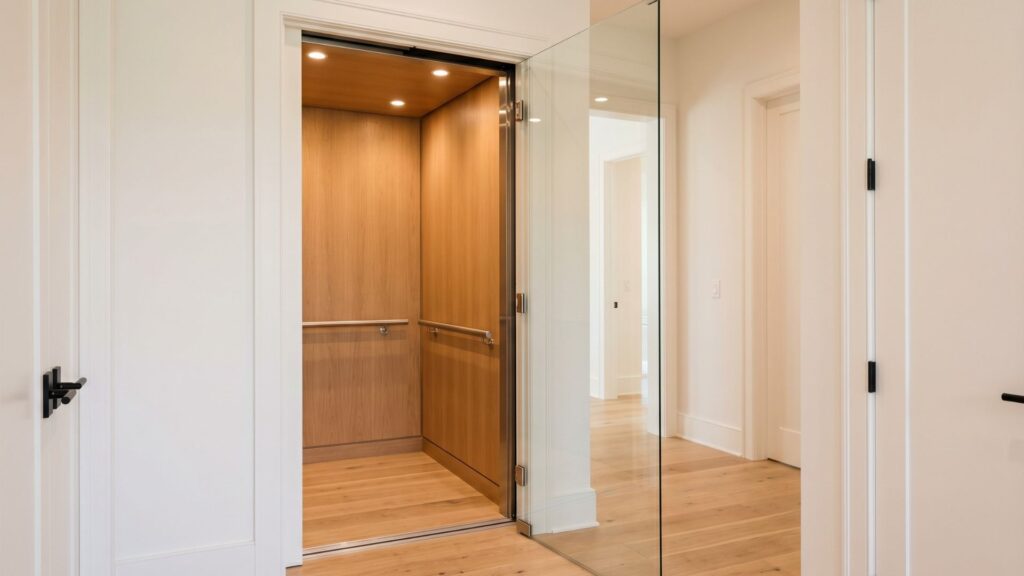
A dedicated shaft built into the floor plan during construction that can accommodate a residential elevator later. Alternatively, structural reinforcement of stairwells to support a stairlift track.
Why It Matters
A two-story custom home without vertical access planning commits the occupants to either the stairs or relocation when stairs become difficult. A pre-built shaft or prep costs a fraction of full installation and preserves the option for decades.
How to Build It In
- A standard residential elevator shaft runs 5 feet by 5 feet in floor area
- Locate the shaft in a logical vertical stack: a closet on the first floor below a closet on the second floor is the most cost-effective location
- Run a 208V or 240V electrical circuit to the shaft during rough electrical
- For stairlift prep: reinforce the stringer and landing structure at framing to accept a track mount without future structural modification
11. Reinforced Bathroom Floor Structure
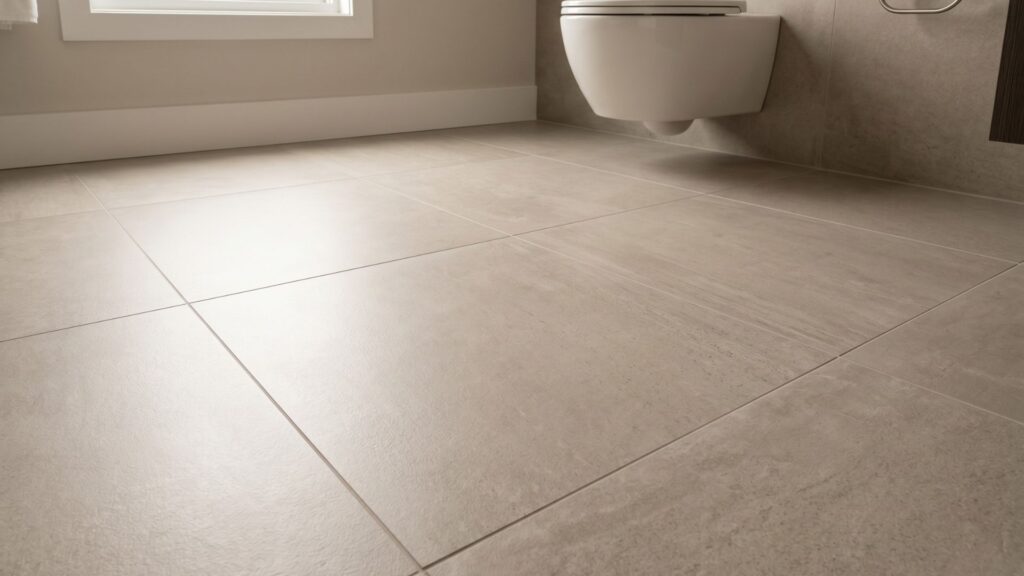
Structural floor framing in bathrooms designed to support the weight of a roll-in shower bench, a wall-mounted toilet, or a ceiling-mounted patient lift without additional reinforcement.
Why It Matters
Caregiving equipment, ceiling lifts, and roll-in shower benches impose point loads that standard residential floor framing is not always designed to handle. Building for those loads at the framing stage costs almost nothing. Retrofitting structural reinforcement later requires floor disassembly.
How to Build It In
- Specify double or triple joists under wet room floors during the structural engineering phase
- Install a backing plate in the ceiling framing of bathrooms for a ceiling-mounted lift: a 500-pound point load capacity is the minimum
- Coordinate with the structural engineer on load paths from any wall-hung fixtures
12. Wide Hallways and Turning Radii
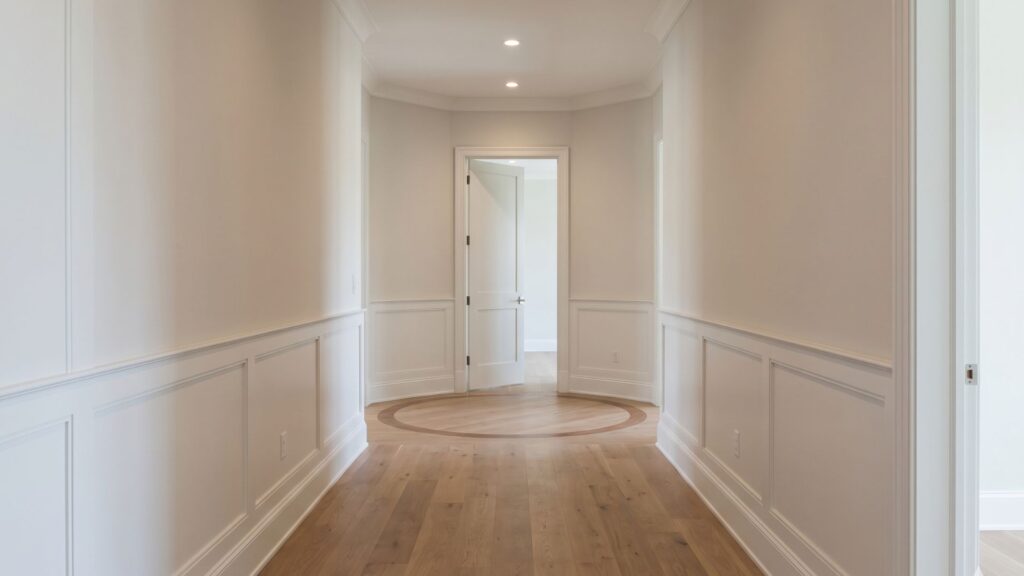
Hallways designed at 42 to 48 inches minimum clear width, with turning alcoves at bedroom and bathroom entries to allow a wheelchair or mobility device to complete a 180-degree turn.
Why It Matters
Standard hallways run 36 inches. A wheelchair requires 36 inches to travel straight and 60 inches to turn. A hallway that is navigable in a straight line but impassable at the bedroom door defeats the purpose.
How to Build It In
- Set minimum hallway width at 42 inches in the floor plan, 48 inches preferred
- At all doorways off the main hallway, provide a clear floor space of 60 inches by 60 inches for a full turning radius
- Avoid 90-degree hallway corners without adequate turning space: a 42-inch hallway needs a 60-inch clear distance past the corner before the next obstruction
13. Contrasting Visual Cues and Edge Treatments
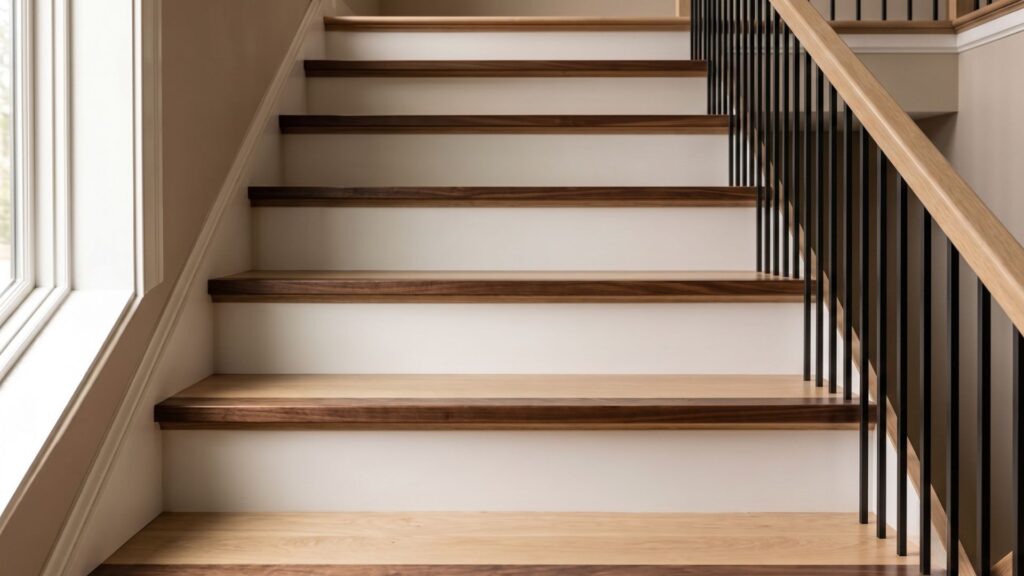
Intentional color and material contrast at transitions, edges, step nosings, and threshold changes to make them visible to someone with reduced vision or depth perception.
Why It Matters
Vision changes gradually after 40. Depth perception and contrast sensitivity decline before most people notice them clinically. A step that is monochromatic with the floor around it becomes invisible. A contrasting edge does not.
How to Build It In
- Specify a contrasting nosing material on all stair treads: a different color or material at the leading edge of each step
- Use a different flooring material or color at all room transitions and thresholds
- Specify high-contrast hardware on cabinets, doors, and switches: dark hardware on light cabinets, light hardware on dark ones
- Avoid large-format monochromatic flooring in rooms where level changes occur
14. Master Bath Layout for Two
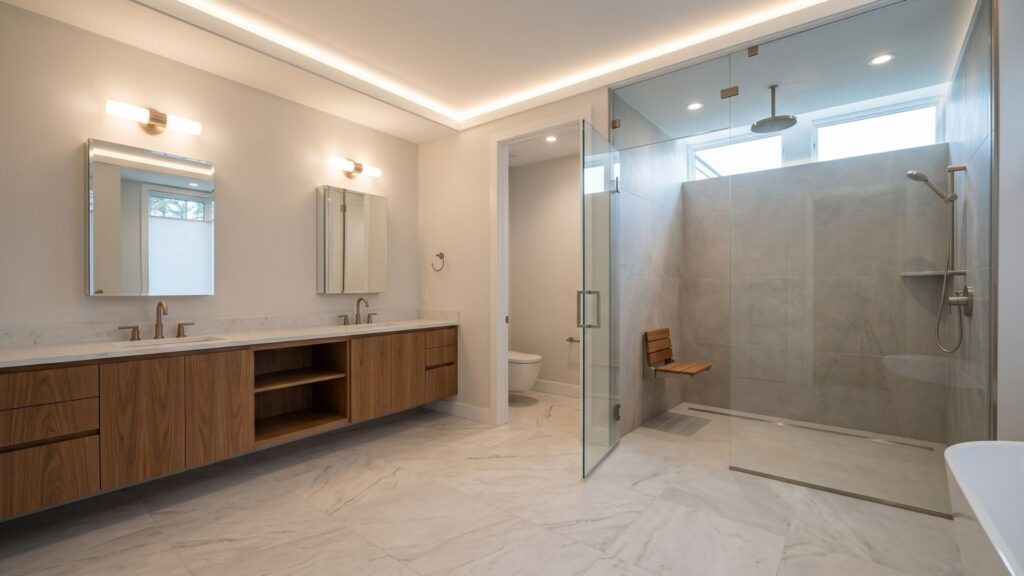
A primary bathroom designed to accommodate two people simultaneously, with enough turning room for an assistive device and a caregiver in the wet zone.
Why It Matters
One of the first things that disrupts aging in place is the inability to bathe safely without assistance. A primary bathroom that is too small to accommodate a caregiver creates a crisis. One designed for two from the start does not.
How to Build It In
- Size the shower at 36 by 60 inches minimum; 42 by 60 is better
- Install a fold-down teak or composite bench in the shower: structural blocking behind the wall, hinged so it stores flat when not in use
- Place a handheld showerhead on an adjustable slide bar: usable seated or standing, usable by a caregiver
- Allow a 60-inch by 60-inch clear floor space in front of the toilet for full side transfer with caregiver assist
15. Outdoor Accessibility and Site Design
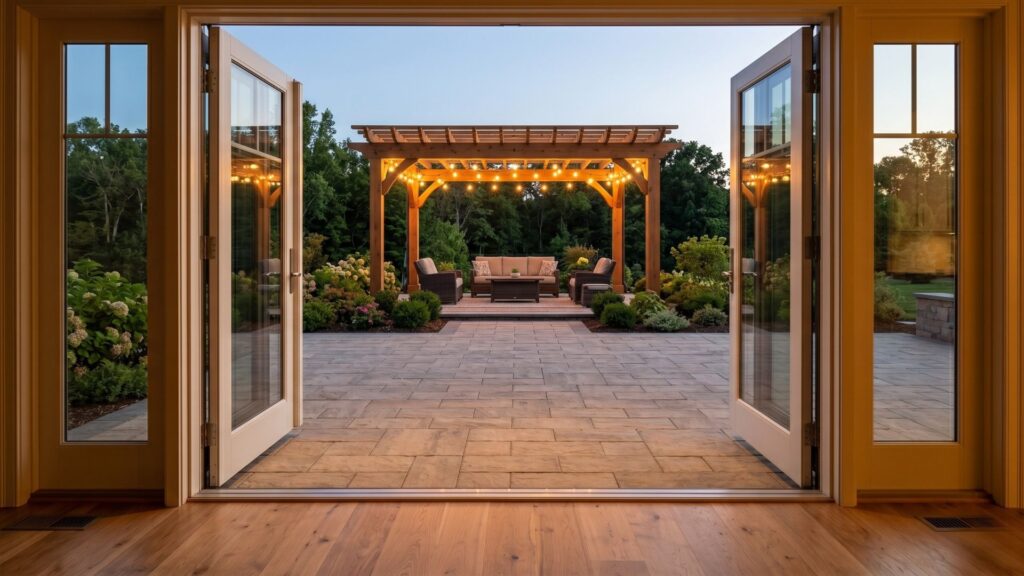
Site design that extends accessible design principles from inside the home to the driveway, patio, garden, and any exterior structures.
Why It Matters
A home that is fully navigable inside but inaccessible outside is only half the solution. The ability to move through the garden, access the patio from the kitchen, or get to the car without steps matters for quality of life and independence.
How to Build It In
- Design patio surfaces flush with or within one quarter inch of the interior floor at all sliding or French door transitions
- Specify permeable or textured paving at the driveway and walkway: no loose gravel, no high-gloss pavers
- Locate the garage at grade or with an internal ramp if the structure is at a different elevation
- Install exterior lighting on motion sensors along all pathways from parking to entry
Why Build These Features In From the Start?
This is the practical question. The honest answer is cost.
Most of the 15 features above cost nearly nothing when designed into a custom home during the planning and framing stages. The same features as retrofits cost between $2,000 and $30,000 each, depending on what has to be opened, replaced, or restructured.
At Ambition, we work with buyers in the 40-to-65 range who are building their last home. That is their frame for this conversation. Not “I need this now” but “I am going to need this, and I would rather not move again.”
That is a completely rational way to think about a $1,000,000+ construction decision.
The design decisions you make during the planning stage determine what your home can do for you 20 years from now. See the range of layouts and floor plan approaches Ambition has developed for Maryland clients. Browse the Ambition Design Library
How Aging in Place Design Connects to Building Science
There is overlap between aging in place design and building science that most buyers do not expect.
A home built to high-performance energy standards has better indoor air quality, more consistent temperatures room to room, and fewer moisture and mold issues than a code-minimum build. All three of those factors matter more as occupants age.
Respiratory conditions become more common with age. Immune response to mold exposure weakens. The ability to tolerate extreme temperature variation in poorly conditioned rooms decreases.
A home with a tight envelope, a proper ventilation system, and controlled humidity is not just efficient. It is healthier to live in for the long term.
Ambition builds every home to high-performance standards that go beyond Maryland’s energy code minimums. Read how our building science approach works in practice. Explore Our Energy Efficient Homes
What Aging in Place Design Costs in a Maryland Custom Home
The cost of aging in place features depends almost entirely on when in the process you add them.
Built in at the design stage: Most features add $0 to $5,000 to a typical Maryland custom home budget. Wider doorways, grab bar blocking, zero-step entry grading, and comfort-height fixtures are effectively free when designed from the start.
Understanding what a Maryland custom home actually costs per square foot is the foundation of every budget conversation. Before pricing any features, get the full picture on what drives cost in this market. Read Our 2026 Maryland Cost-to-Build Guide
Added during construction but after framing: Modest cost increase. Changes to framing, electrical runs, and rough plumbing are manageable but add time and rework.
Retrofitted after occupancy: Expensive. The table below reflects actual retrofit cost ranges for the same features when added after construction.
Retrofit Cost of Aging in Place Features vs. New Construction Cost
| Feature | Cost Built In (New Construction) | Retrofit Cost After Occupancy | Primary Retrofit Driver |
|---|---|---|---|
| Zero-step entry grading | $0-$500 (grade planning) | $3,000-$12,000 | Regrading, new concrete, masonry |
| 36-inch doorways throughout | $0-$200 per door (framing) | $800-$2,500 per door | Header modification, drywall, paint |
| Curbless walk-in shower | $500-$1,500 (floor framing) | $4,000-$15,000 | Subfloor modification, waterproofing |
| Grab bar blocking (per bathroom) | $50-$150 (lumber) | $500-$1,500 per location | Wall opening, blocking, drywall, paint |
| Elevator shaft (empty, rough) | $3,000-$6,000 | $15,000-$35,000 | Structural modification, floor penetration |
| Smart lighting pre-wire | $200-$600 per room | $800-$2,000 per room | Wire fishing, drywall patching |
| Comfort-height toilets | $150-$400 (fixture upgrade) | $150-$400 (fixture only, if pre-blocked) | Same if blocking exists |
| Wider hallways (42 in.) | $0-$800 (plan revision) | $5,000-$20,000+ | Wall relocation, structural if load-bearing |
Frequently Asked Questions: Aging in Place Home Design
What is the difference between aging in place design and universal design?
Universal design is the broader design philosophy: create spaces usable by people of all ages and abilities from the start, not adapted for a specific population. Aging in place design is the application of universal design principles specifically toward the needs of older adults and those with mobility changes. In practice, the two overlap significantly. A home built to universal design guidelines is almost always a home that supports aging in place well.
At what age should I start thinking about aging in place features in my home?
The answer is: when you are building. Any age. The cost of incorporating these features into new construction is minimal. The cost of adding them later is not. Buyers in their 40s building a home they plan to stay in for 20 to 30 years have the most to gain from thinking about this now. The features that support aging in place at 75 also make the home more functional, comfortable, and practical at 50.
Do aging in place modifications reduce the resale value of a Maryland home?
Generally, no. Features like wider doorways, curbless showers, and lever hardware are increasingly considered premium finishes in the Maryland market, not accessibility workarounds. A well-designed aging in place home reads as a well-designed home. The features that would flag negatively (hospital-grade grab bars on bare drywall, industrial-looking equipment) are exactly what proper new construction planning avoids.
How do I know if a builder has real experience with aging in place design versus just adding it as a checkbox feature?
Ask them to describe how they handle grab bar blocking: where they install it, what material they use, how they document it. Ask them what their standard hallway width is and how they handle turning radii at doorways. Ask whether zero-step entry grading is handled during site planning or added as a change order later. The answers to those three questions tell you a great deal about how seriously a builder has thought about this.
Can I add an elevator to a Maryland custom home if I did not rough in the shaft at construction?
Yes, but at significantly higher cost and with more disruption. Adding an elevator to a finished home requires creating a vertical opening through each floor structure, which means structural modification, floor system interruption, and significant drywall and finish work around the shaft. A rough-in shaft at construction time costs $3,000 to $6,000. A full residential elevator installation in a finished home runs $20,000 to $40,000 or more, depending on the number of floors and structural conditions.
What Maryland-specific factors affect aging in place design decisions?
Several. Montgomery County’s climate brings icy entry conditions in winter, which strengthens the case for covered zero-step entries and textured exterior paving. The region’s older housing stock in Bethesda, Potomac, and Chevy Chase means teardown-to-custom builds are common, giving buyers a genuine blank-slate opportunity that renovation projects do not offer. Maryland also has no specific residential accessibility mandate beyond federal Fair Housing Act requirements for multifamily buildings, so these features require intentional specification rather than code compliance.
Your Maryland Custom Home Is the Right Time to Do This
You cannot retrofit a floor plan. You can retrofit a grab bar.
The structural decisions, the hallway widths, the floor plan orientation, the shaft location, the site grading: those are made once. They are made before anything is built. Changing them after the fact costs multiples of what they would have cost to get right the first time.
A custom home in Maryland is your opportunity to make every one of these decisions intentionally, with a builder who knows what to ask and when to ask it.
Talk to Ambition about building a Maryland custom home designed to serve you for the long term. Contact Us to Start the Conversation